How to Make a Video Tutorial?
In the article, we talk about creating video tutorials from scratch: what format to choose, and how to structure, design and edit the material. We give advice on preparing the teacher for shooting and selecting the background, program, and equipment.
Step 1: Choose the Type of Video Lesson
There are three main formats for such lessons. They can be broadcast live or delivered to students on tape with the help of the iMind videoconferencing platform.
Screencast
This is a desktop screen recording with audio. The teacher demonstrates what is happening on the screen and at the same time voices the process and gives hints. Such instructions are used to teach how to work in programs and services.
Video presentation
A video presentation is a demonstration of a regular or animated presentation along with the teacher's comments. This method is suitable for lectures, webinars, and reviews. Simultaneous voice acting and visuals help students to better understand the material.
Instructional video
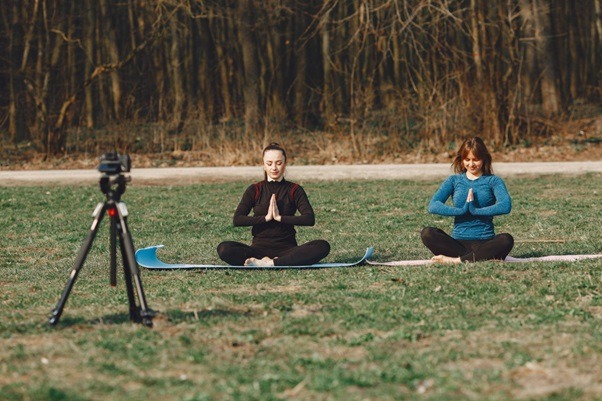
This is a short clip of up to 20 minutes, covering one topic. It differs from the first two formats in its thoughtful script and the active participation of the lecturer in the recording. Such a lesson may include practical tasks.
Step 2: Write the Script
Here you have to define goals and objectives. Start creating a lesson by building a structure. To do this, answer a few questions:
- What result will the student get?
- What will he know and be able to do after class?
- Who will take the course and when?
These theses can be used as the structure of the first lesson.
Analyze your target audience
It will be useful to study the target audience even before creating a video lesson for your employees. Think about what experience potential participants have in the stated topic.
If they are beginners, then more theory is needed. People with even basic knowledge of the topic will need more practice. Understanding your audience will also help you choose the right terms, words, and visuals.
Step 3: Prepare Your Equipment and Recording Space
To create a video of your face, you will need a microphone and a webcam. The devices built into the laptop will not work, because they transmit the signal poorly - too quiet, with extraneous noise and a blurry image.
As a microphone, you can use a comfortable headset with noise reduction. It is always at the same distance from the mouth and does not rub against clothing when moving a microphone. This ensures smooth and clear sound in the video. It is better if the headphones are attached to the PC via USB, but wireless models can also be used. The main thing is to charge them in time and check the quality of pairing with the recording device in advance.
In addition to equipment and background, you need to take care of a stable and fast Internet. This is important if you are teaching in real-time.
Upload the finished video to the training platform, share it on social networks, or send it to the training participants in the mailing list. Usually, editors offer many formats for saving - choose the most popular ones so that all recipients can open the video.